Notes from an Artist’s ToolboxThis blog is a place to share what I’m exploring, experimenting with, and learning as a photographer and visual artist.
I’m interested in what happens when photography moves beyond simply recording what we see. Sometimes that means working with light and movement in the camera; sometimes it means infrared, alternative processes, digital tools, or emerging technologies. Often it means combining several of them.
These posts grow out of my own creative practice and the workshops I teach. They aren’t intended as formulas for making a particular kind of image. Instead, I hope they offer ideas, techniques, and starting points for developing your own way of seeing and making. Above all, I believe photography can be both a way of witnessing the world and a starting point for interpreting it. Seeing the Invisible: Infrared Photography as an Artist’s Toolbox
August 27, 2026
•
Leave a Comment
|
|
|
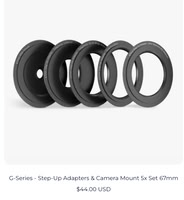
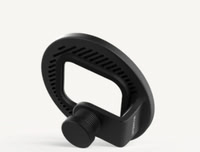
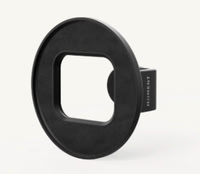
Moment 67mm Universal Phone Filter Mount — a practical way to position a standard 67mm filter over the iPhone camera module.
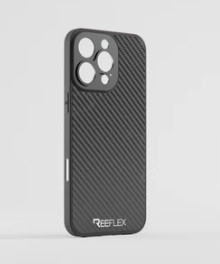
Reeflex
For the iPhone 17, I have used the Reeflex case and magnetic mounting system.
As iPhones evolve—and their camera modules become larger and more complex—the mounting solution inevitably evolves with them.
There isn’t one mounting system that everyone needs. What matters is that the mount securely holds the filter, completely covers the active camera lens, minimizes stray light and allows me to remove and replace the filter without turning photography into an engineering project.
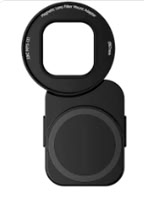
A case-based magnetic filter holder makes filters faster to attach and remove in the field.
What About LiDAR?
On iPhone Pro models, larger mounts and magnetic plates can sometimes cover the LiDAR sensor.
LiDAR—Light Detection and Ranging—uses infrared light to measure distance and assists the iPhone with functions such as focusing in low light.
For my infrared photography, having the filter positioned correctly over the camera lens is more important. One solution is simple: compose, choose the lens, focus and lock exposure before attaching the infrared filter. This is especially useful with a darker 850nm filter.
A Tripod Helps—but Isn’t Always Necessary
Infrared exposures can be much longer than ordinary iPhone photographs because the phone’s internal IR-blocking filter is doing exactly what it was designed to do: preventing most infrared light from reaching the sensor.
Sometimes the iPhone’s stabilization and Night Mode allow me to photograph handheld. Other times, particularly with an 850nm filter, a tripod makes a substantial difference.
I’ve used everything from a small Manfrotto PIXI tabletop tripod to a lightweight Gitzo tripod with a Really Right Stuff micro ball head. But sophisticated support isn’t essential. A railing, wall, table or other stable surface can work surprisingly well.
Native Camera or Camera+?
I use both the native iPhone Camera and Camera+.
The native camera is often the simplest approach. Putting the infrared filter over the lens reduces the amount of light reaching the sensor, which can cause Night Mode to activate.
Camera+ gives me more manual control. I can work with RAW files, adjust white balance and Kelvin temperature, control ISO and use longer shutter speeds. Experiment with setting the white balance around 1400K and adjusting shutter speed and ISO while watching how the infrared image changes.
When my iPhone app supports it, I prefer ProRAW because it gives me considerably more information to work with during processing.
Keep the Kit Simple
Despite all the choices, my basic infrared kit can be very small:
- iPhone
- Infrared filter
- Moment, magnetic or compatible case/filter mount
- Small tripod or other support when necessary
- Native Camera or Camera+
- Lens/filter cloth
That last item is particularly important when photographing on Cape Cod. Moisture, fingerprints, salt spray and sand have a remarkable ability to find their way onto a filter.
Once the filter is attached, though, I want to stop thinking about equipment. The equipment makes the photograph possible. It isn’t the reason for making the photograph.
What Comes Out of the Camera
One of the first surprises in infrared photography is that the image straight out of the camera may look nothing like the finished photograph.
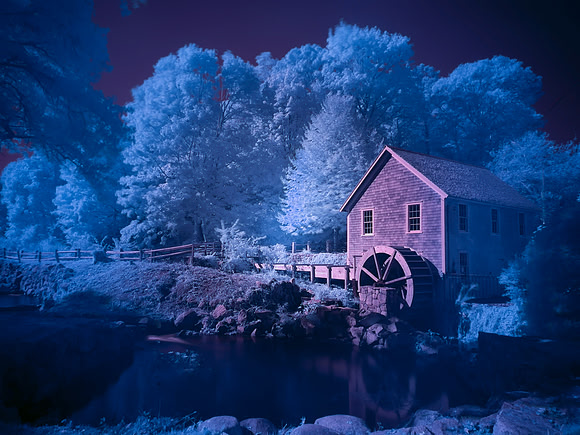
With an infrared filter attached, my iPhone images often begin with a strong red or magenta cast. This is normal. The camera and its processing system are designed to produce photographs from visible light, not to interpret the infrared information we are deliberately asking it to record.
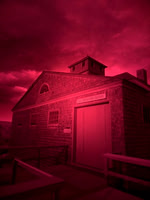
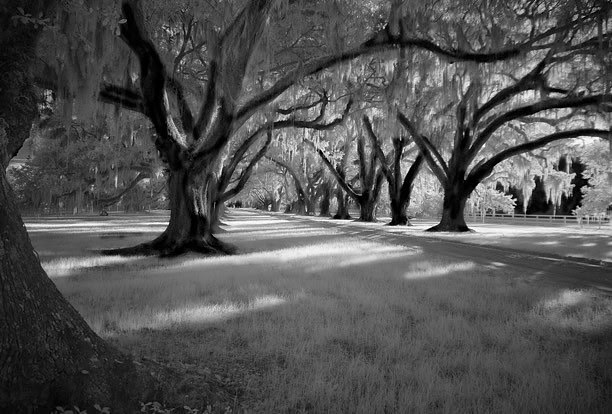
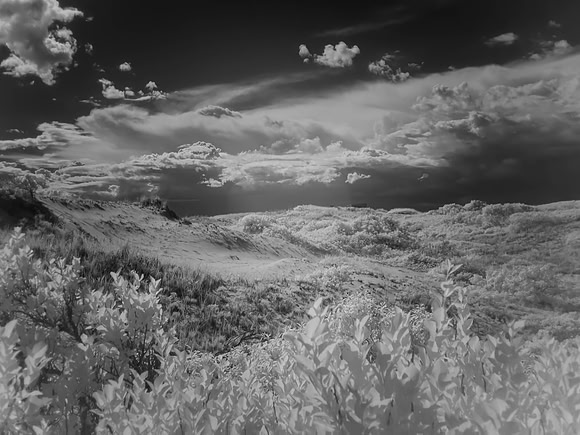
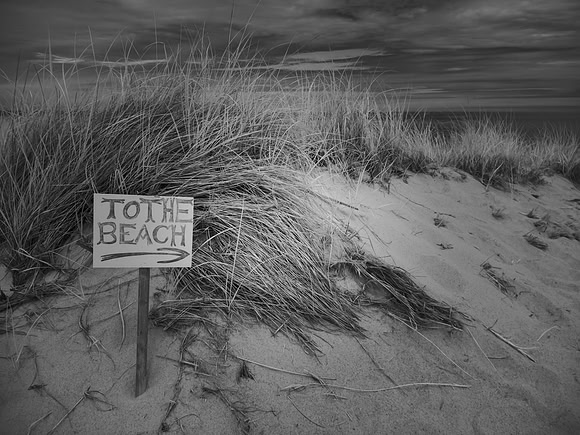
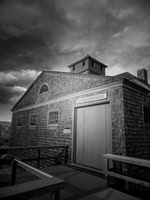
For the classic infrared look, my next step is usually to convert the image to black and white. Once the color is removed, the qualities I was looking for when I made the photograph begin to emerge: luminous foliage, dark skies and water, bright clouds, and the unusual tonal relationships that make infrared so distinctive.
Photograph First. Interpret Second.
For me, making the exposure is only the beginning.
The initial infrared file isn’t necessarily the finished photograph. Processing becomes part of the act of interpretation.
I may adjust exposure and contrast, alter color relationships, experiment with channel swapping, selectively desaturate parts of the image, invert colors or abandon color entirely and create a black-and-white photograph.
There isn’t one correct destination. Sometimes the photograph wants to become quiet and monochromatic. Sometimes false color creates something strange and almost dreamlike. Sometimes I deliberately push the photograph much farther from conventional photography.
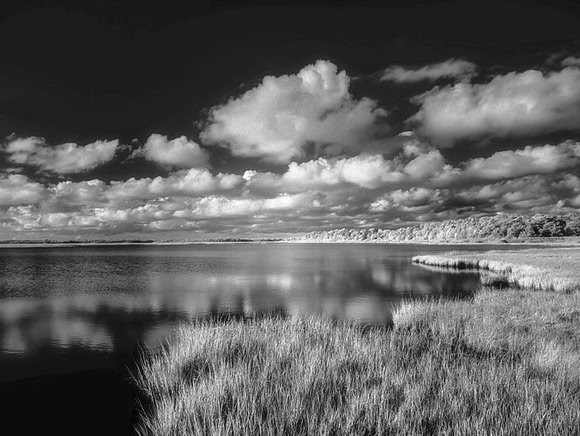
My question isn’t: Does this accurately reproduce what I saw? I couldn’t see the infrared light in the first place.
The more interesting question is: What can I make from what the camera discovered?
Imperfection Is Part of the Process
Infrared photography also has its own imperfections. Hotspots and halos can appear. Skies
can become uneven. Exposure can be unpredictable.
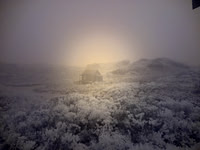
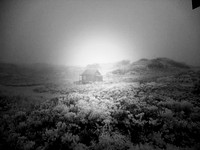
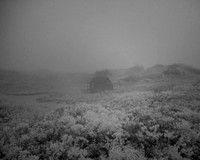
I use local adjustments in Lightroom Mobile and Snapseed when a bright halo or hotspot pulls attention away from the photograph. Less can be more!
But I don’t necessarily want to eliminate every irregularity. My goal isn’t technical perfection. My goal is to decide what belongs in the image.
Processing isn’t simply correction. It is another stage of making the photograph.
Infrared in My Artist’s Toolbox
Infrared has become one of the tools I use when I want to move beyond a literal photographic description of a place.
In that sense, it occupies a space in my practice alongside iColorama, intentional camera movement, multiple exposure and other forms of digital experimentation.
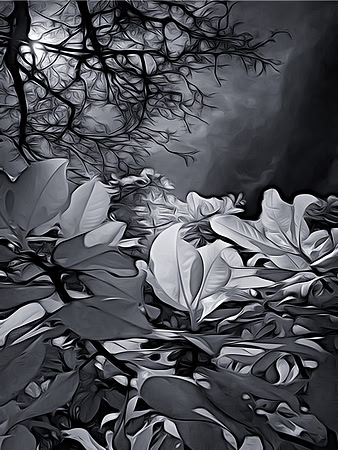
Each gives me another way of asking: What else could this image become?
Infrared is particularly interesting because the transformation begins before I process anything. The camera is already showing me something my eyes cannot see. I then decide how far I want to take it.
That is ultimately what interests me about infrared photography. It reminds me that a photograph isn’t simply a copy of reality. Every camera records a particular interpretation of light. Every lens, sensor, exposure and processing decision affects what ultimately becomes the photograph.
Infrared simply makes that transformation impossible to ignore.
It asks us to look at the familiar and consider that another version has been there all along—just beyond what we can see.
Crafting Infrared Images was taught by Rachael Sokolowski and Mark Kesling on August 4, 2026 at the Truro Center for the Arts at Castle Hill